I stumbled upon this kewl site and thought I would pass the word.
http://charitycrafter.blogspot.com
Monday, May 17, 2010
Sunday, December 23, 2007
Adult Muff suggestions
Maddy, on one of the crocheting groups that I belong to wrote: Honey, you don't need a pattern for that! A muff is just a rectangle.
First decide just how much warmth you need. Last winter I was in Maine; for that cold a climate, I might consider a double layer (one tube inside another for extra insulation) Here in NC I wouldn't bother with a muff at all, except as a fashion accessory in which case I'd use fun fur or some such fru fru.
1. Shop your stash first for a nice warm soft wool. Animal wools are the warmest. Alpaca is nice, warm and soft but not too too fuzzy.
2. Nothing in your stash? Go to a good LYS and shop the sale bin first. You'll only need 2-3 50gm balls, and LYS's will deeply discount NICE yarns when they're down to such small quantities.
3. Check the ball band for recommended hook size for your yarn (that's a good place to start).
EITHER:
4. Crochet a chain as long as you want the width of your muff.
5. Pick a stitch you like from your favorite stitchionary.
6. Work piece until it's long enough to wrap comfortably around your forearm.
7. Slip stitch bottom row to top row to make your tube.
8. If you like, use a fluffy fru fru yarn to go around the ends of the tube.
OR
4. crochet a chain to go comfortably around your forearm, and join to form ring.
5. pick a stitch you like to work in the round
6. crochet until your tube is the length you like
7. skip this step, your tube is already closed
8. same as above
CONSIDER:
CROCHETING A LONG CHAIN TO THREAD THROUGH YOUR muff, long enough to go over your shoulder like a purse so you can pull your hands out when needed withhout losing your creation
Sunday, December 02, 2007
Fixing an afghan
Hi everyone, I came across this on one of my other groups and thought that this information was good to pass on to you all.
Someone has asked about an afghan that was 2 long, and they didnt want to frog it for some reason. So this is the reponse that was posted.
You COULD cut the afghan and "pull" the yarn in order to bind off the edge. Here's what you would need to do:
1. Determine the minimum length that she wants the afghan.
2. Add 6 inches
Lay the item flat on the kitchen floor and use masking tape to securely tape the item down so that it will not move.
Lay a piece of masking tape along the middle of the row that is located approximately 6 inches from the END of the afghan. She will use this piece as a guide when cutting.
Prepare a tapestry needle with a LOOOONG piece of yarn. This yarn will be threaded like a basting thread through the loops that are left -- as each loop is cut -- in order to keep the whole afghan from unraveling.
Cut the afghan along the bottom edge of the masking tape. As each loop is cut, thread your long piece of basting yarn through each loop from the row below so that the loops do not get lost. THis step is very important. If you lose loops, your piece will unravel.
Once you are finished cutting, clear away any tiny pieces of yarn. You should have a whole row of loops on the basting thread. If your friend knows the afghan stitch, these loops can be transferred onto a long afghan hook, or she can begin working backwards with the long thread and securing the loops with a bind-ff sewing stitch.
Monday, November 26, 2007
The origins of the Afghan
Ever wondered about the humble afghan or granny squares...well wonder no more, this was taken off a list that I belong to.
From Crochet Kitty:
Origin of the Afghan (and an explanation for Granny Squares)
According to a crochet pattern published by the Spool Cotton Company
in 1941, "the thrifty womenfolk of our early American days carefully
saved odds and ends of yarn, leftover colors, ravellings from
sweaters and socks — all to be made into a robe for the family's
general use.
As fast as the yarn accumulated, it was crocheted into small squares —
the colors tastefully combined from whatever yarn was available at
the time. When sufficient squares were completed, they were sewed
together to make a colorful blanket useful for many purposes — as a
bedspread, for a shawl, as a leg and lap covering, for sleighing,
for "bundling," as a throw over a rocking chair, and a colorful
decoration around the house.
Because grandmother played the major role in its making, the robe was
affectionately called the "Granny."
Because granny's robe originally was made of many colors, it
resembled a particular type of colorful rug brought from Afghanistan
to this country by the gallant sailing ships of colonial times. So
the nickname, "Afghan," came into popular use!
Today, "Afghan" is used to describe various kinds of robes and
blankets which are crocheted or knitted of soft wool yarns in the
beautiful shades suggested by style and made available by modern
thread and yarn manufacturers."
Making patterns bigger/smaller
I got this from an email group that I am part of and thought that it would be great to share with all of you. I hope that you find it helpful.
One easy, no math, fool-proof way to start your foundation for any
pattern is to:
1. Chain to the width that you want.
2. Place a safety pin in the last chain stitch made.
3. Using a second skein or the other end of the same
skein of yarn, join yarn in the first stitch of the
foundation chain and work the first row of the
pattern.
4. Work the pattern until your piece is as wide as you
want it to be.(*Be sure to end with a complete
pattern repeat as called for in your directions.)
Now, for the safety pin. If you find you have chain stitches you
don't need, then simply take out the pin and pull out the extra chain
stitches until you get to your last stitch worked in the first row
and fasten off the chain stitches. On the other hand, if you need
more foundation stitches, just insert your hook and make as many as
you need before fastening off.
This is especially useful when you are chaining 200-300 stitches for
afghans. This works for me.
*Please, since I do not know how to design, I hope those who do will
help me make this clearer to the members. It really does work.
Thursday, November 08, 2007
Edging items - some useful information
I came across this on another list that I belong to, and thought that it was so good that I just had to pass it on to you all...
It is about adding edging to FOs ...
If you made the square in the round, you just use the last row's stitches as a guide, adding extra stitches in the corner for ease. For sc, that is 3 sc in the corners. For dc, you will add 5 dc in the corners.
If you worked the square in rows, you will need to figure a little differently. If the square is a true square, the stitches added on the sides should be the same number as the ones on the
ends.
Generally speaking, you go by the heighth of the stitches on the sides of the rows.
For example,
sc = 1 stitch,
hdc = 2 sts,
dc = 3 sts,
tc = 4 st, etc.
However, sometimes that will cause work to ruffle so I may do 5 sts. across 2 dc instead of 6 sts.
Hilary also added the following...Is it truly a square?
If so, you'll want the exact same # stitches on the side as across
the top and bottom. This will usually be the same as your foundation
chain minus the turning stitches, or # stitches in the first row.
(depends on the pattern stitches used)
Sometimes the stitches along the side may be every row, every second
row, 3 stitches every 2 rows, or even 2 stitches every 3 rows. All
depends on what stitches you're using. This method will make it
easier to figure:
Take a box of straigt pins. On the foundation row edge, count the #
of stitches. Put a pin in the center stitch, then divide each half
into quarters, mark with a pin.
Now fold the square in 1/2 along the side. Mark the center with a
pin. Divide each half into quarters, mark with a pin.
On the foundation row, count how many stitches between pins. Make
that same # of stitches between pins on the sides as well.
And don't forget the 3 stitches in every corner. :D
Kemberlee's socks
Those that are not sure about trying to crochet socks, are just not sure if you can do it, then you need to try Kemberlee's socks.
I for one, was very worried about making socks, and not sure if I could do it. Then there was a sign-up period for a Sock CAL, and I thought, I will give it a go. And wouldnt you know it, it was pain free and so easy to do it.
There is currently a sock along happening at the moment of Kemberlee's socks and unfortunately, I am not making them this time around, but rest a sure, I will do doing them in the New Year as presents for my family.
If you have started on the socks, and want to join the fun, then let Kemberlee and Chris know and join the others. It would be great to see what color combinations have been made with the socks.
Sunday, October 29, 2006
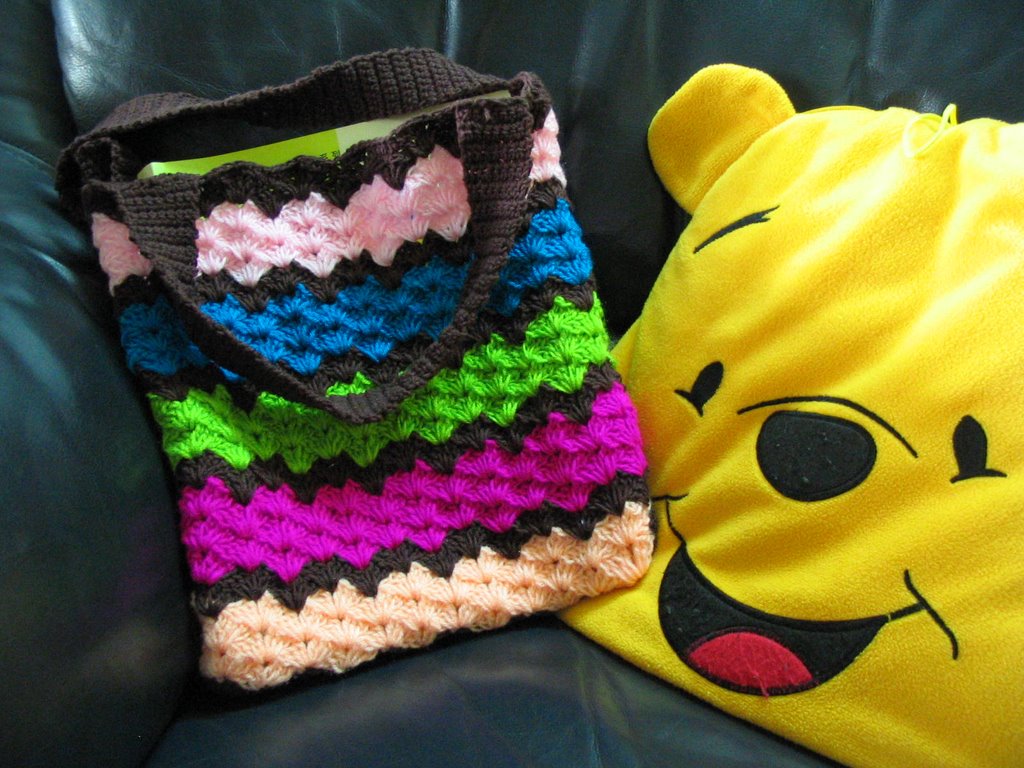
My Bookbag
This is my bookbag crocheted with some scrap yarns. Very colourful, isn't it?
There are more pic in my blog if you would like to take a look: Cyn's Corner

There are more pic in my blog if you would like to take a look: Cyn's Corner
Tuesday, October 03, 2006
Where have I been??
Well everyone, I went on insulin June 22nd, found out I have kidney disease right after that. Then from Aug 1st thru Aug 10th I was in the hospital (4 days in intensive care) with pneumonia. After I was home about 1 1/2 weeks, I got it again! Oh boy. Then, Yes, Sept. 12th I had it again, got a big shot of antibiotics the 15th and again the 18th. I think I'm over this terrible disease now! Keeping my fingers crossed. I'm still weak and very tired, but I'm coming back!! I just wanted everyone to know that I had not dropped off the face of the earth, just felt like it.
Crochet hugz,
Joyce
Crochet hugz,
Joyce
Subscribe to:
Posts (Atom)